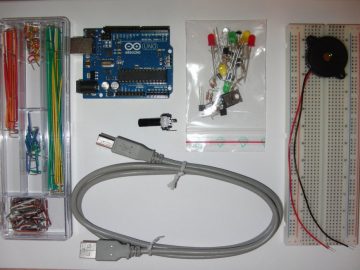
Creative Commons licensed image courtesy of redcctshirt Flickr
Arduino is a small open-source electronics platform that integrates hardware and software. The Arduino board can either be purchased online or borrowed from the UBC Woodward library. The software is available for free online for Windows, Mac and Linux.
Features include:
- Hardware is inexpensive (between $5 and $40 depending on brand and where you purchase)
- Software can run on 3 different operating systems
- Relatively simple programming, good for beginners
- Open-source software and hardware
Arduino is a very useful tool for creating various interactive projects or just exploring programming and electronics. It is an excellent application to help students develop the core competencies of critical thinking and problem solving. With Arduino hardware an instructor can create various sensing equipment for a lab activity, like a sonar sensor, light sensor or even a humidity sensor and then use the software to run the equipment and show outputs. Using this technology would be a cost efficient and novel way of running a lab where students would be able to learn even more hands on things. Students could use the hardware to create a robot that they can then control by programming commands into the software. The process of assembling the hardware teaches many things at once: circuitry, design and troubleshooting skills. Also working with the Arduino software is fairly straight forward and therefore perfect for learning how to code. There are an endless number of projects that can be created using the Arduino hardware and software, check some of them out by clicking here.
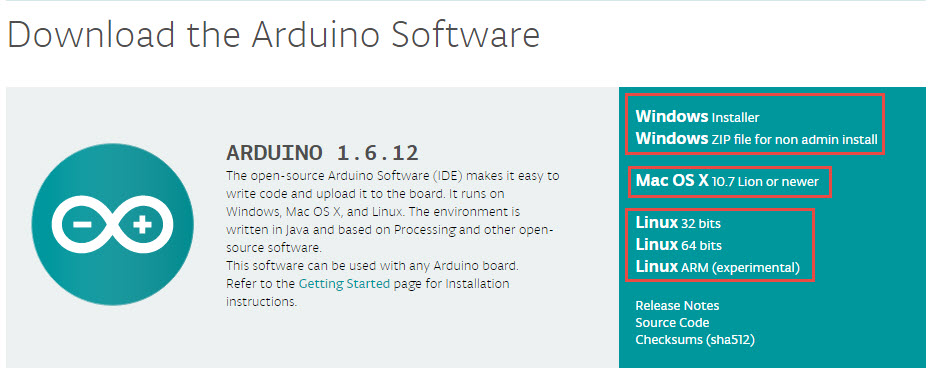
1. Download and the Arduino software.
- Choose the platform that your device runs on, Arduino is available for Windows, Mac and Linux.
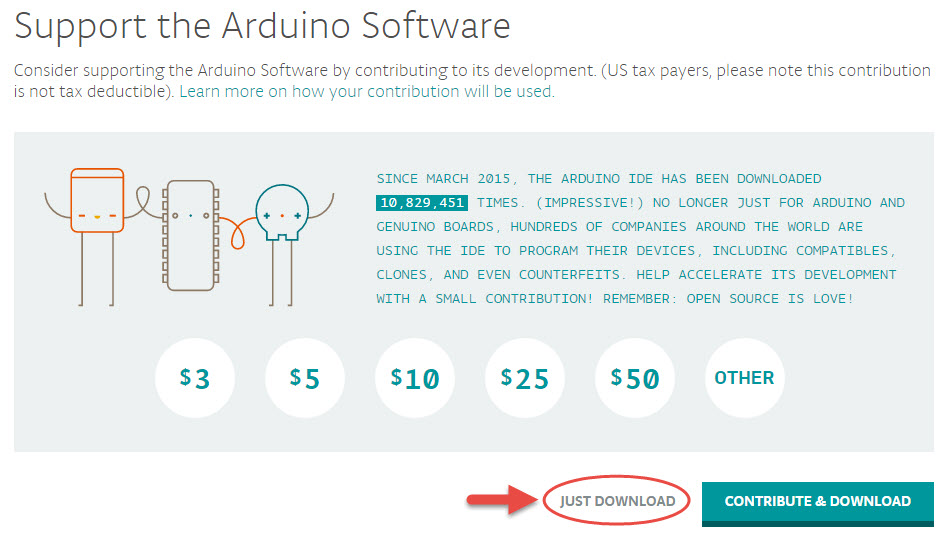
- Click on “Just Download” to download for free (or you can contribute by clicking “Contribute & Download”).
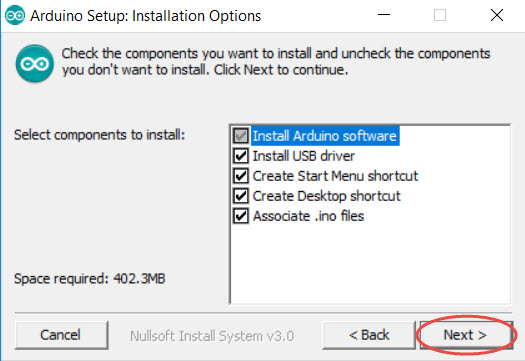
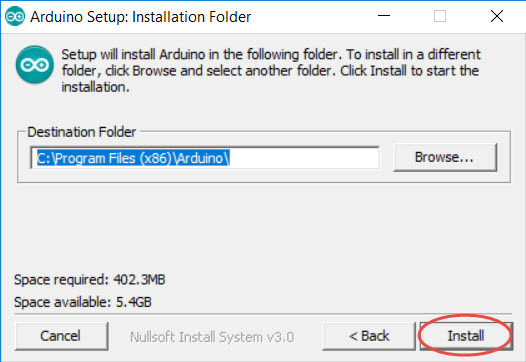
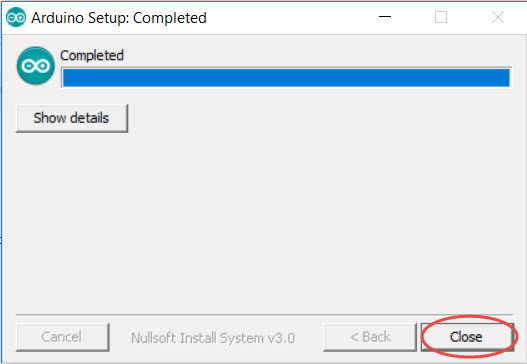
2. Then install the software.
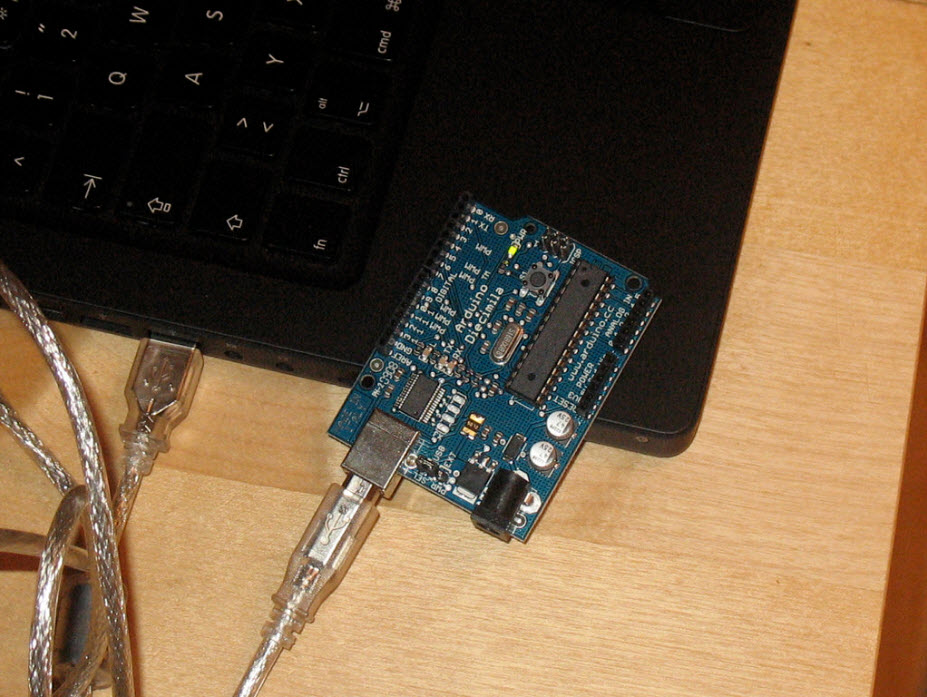
2. Plug in your Arduino board using the USB cable.
Creative Commons image courtesy of Jens Ohlig flickr
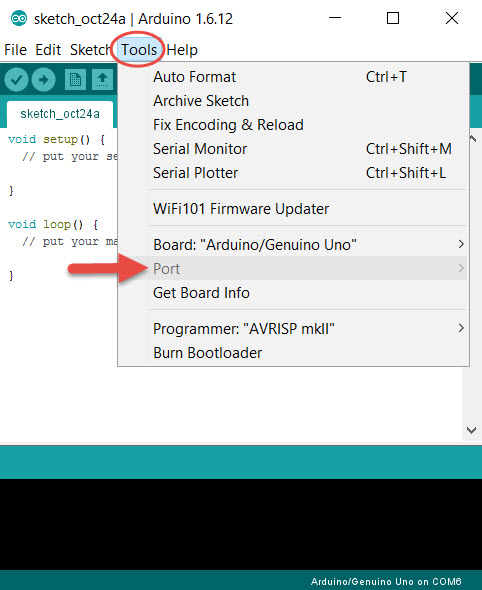
3. Open the software and select the port to which your Arduino board is connected.
- If you have trouble locating the port, watch a quick tutorial video here.
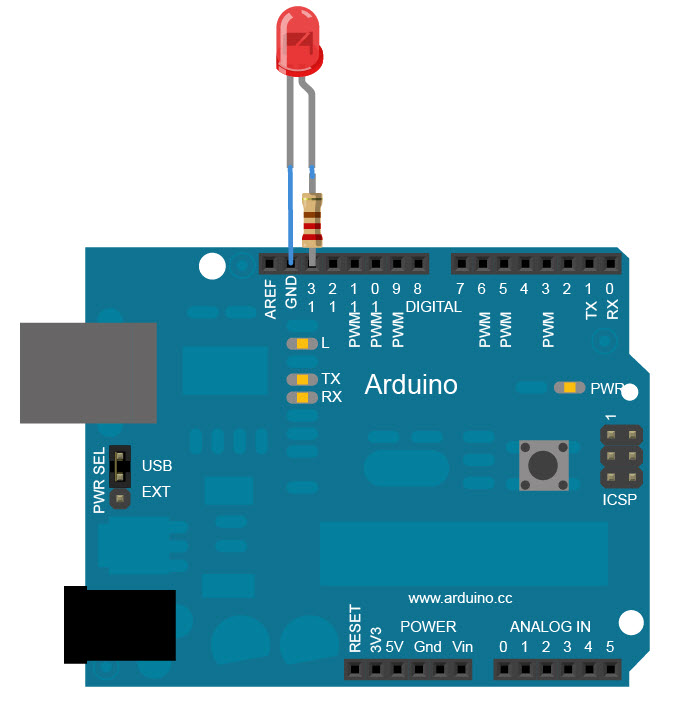
4. Set up an LED light following the image below.
- For the next three steps you can find a more detailed tutorial here.
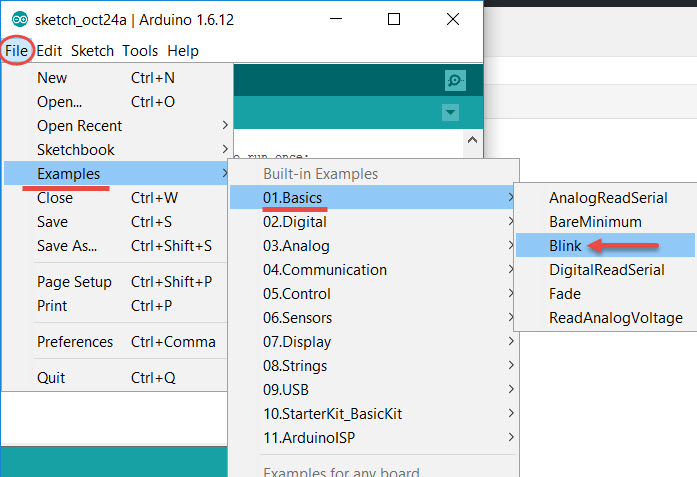
5. In the Arduino software select Tools -> Examples -> Basics -> Blink.
6. Upload the code from the software to the board and watch the LED blink.
For more information on how to use Arduino, click here to watch tutorials by Jeremy Blum.

