NOTE: As of June 2021, Google Tour Creator is being discontinued (and this post and accompanying video resources will be archived/removed)
Have you considered how 360° video, images, Augmented and Virtual Reality might help spark your students’ creativity and, perhaps, engage them in the ‘place’ or setting of a novel? In the past, such technologies were out of reach for the average individual or school… today, smartphones, ipads and laptop computers afford the capacity to create!
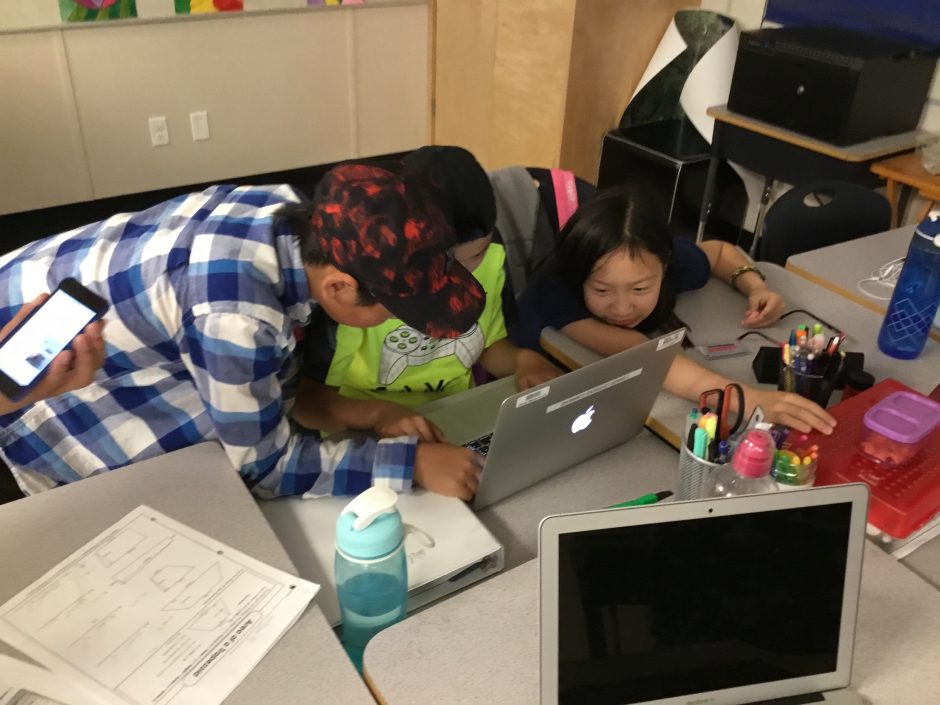
In May 2019, I had the pleasure of collaborating, co-planning, and co-teaching with a Grade 5/6 classroom teacher in Surrey to re-imagine how information learned from novel studies could be shared using Virtual Reality. We had a common goal to push the students’ (and our!) boundaries by rethinking the traditional book report and decided to use Google Tour Creator and Google Expeditions. (For some short ‘how to videos’ and links to VR content, visit this post)

To help guide the students we selected some BIG QUESTIONS for them to consider throughout this project:
- How do the author’s choose settings and how does this affect the plot of a story?
- How can we SELECT SETTINGS and EXPLAIN how they are significant to the novel we are reading?
Here’s how we wanted students to demonstrate their learning:
-
- Use Google Tour Creator to find real-world settings that are close to our imagined settings.
- Explain the significance of the settings by describing the location we selected and why it matters to the story we/they read.
- Add additional detail to a setting by overlaying points of interest, relevant images, appropriate sound effects or audio, and include a narration of the scene for individuals who are unable to see it (creating accessibility).

Want to try this?
To help our students get started and to help scaffold their learning process we made video tutorials, provided links to additional resources, and a launch button to always bring them back to their tours.
First, we created a website to host everything students would need for this project. It contains tutorial videos and links to creative common images, sound effects, and music to help set the scenes and make them more immersive. You are welcome to use it! NOTE: due to Tour Creator requiring google login, we set up google accounts for each group of students to use so that they were not providing their own personal information. Further, we shared with students the importance of protecting their data and privacy through ‘just in time’ lessons and information. Fore more on protecting student data privacy, visit this blog post. You may require parent consents and/or specific school admin or district permission depending on your school district’s protocols and privacy policies.
We also have shared our resources from this project so that other educators may use this process with their own students. Below are links to each resource with a brief explanation of how and why it was created.
- Scenes from a Novel AR-VR Unit Overview
- This overview was co-created and includes inquiry questions to guide the teachers which differ slightly from the inquiry questions for the students.
- VR Planning Page
- This was the planning page used by students to capture what they imagined the scenes would look like. We wanted to help students narrow their focus by selecting valuable scenes and sketching them before heading into the vast virtual world.
- Core Competencies Predictions
- Students used this page to predict what core competency they would use the most through this project. They then used the sheet to self-reflect at the end of the project and write comments about whether they agreed or disagreed with their prediction.
- Single-Point-Rubric-VR Tour
- These were co-created with the class. The teachers introduced ideas and explained the process of using the rubric so that the class could decide on what merited a “passable” project. We also discussed what moved the project into the “extending” territory.
- We had rich discussions about considering everyone in the class and that the goal was to create an immersive project so we had to decide on objectives that were within reach of every student. Many things were decided democratically where students voted on topics. For example, we decided on what the appropriate amount of scenes should be in a tour by displaying the number on our fingers.
- Students then used the rubric to self-assess their project a week before submission. They marked down areas that needed improvement and areas where they went beyond expectations, then used this sheet to keep track of what they needed to work on. In the end, they submitted their project with their rubric.
We presented our learning journey and that of our students’ at the Surrey Teacher Association Professional Development Day in May 2019. You can view the slides below. We also presented at UBC’s Investigating Our Practices Conference, and the BCTESOL Conference.
*parent permission and informed consent provided
*student permission granted

